

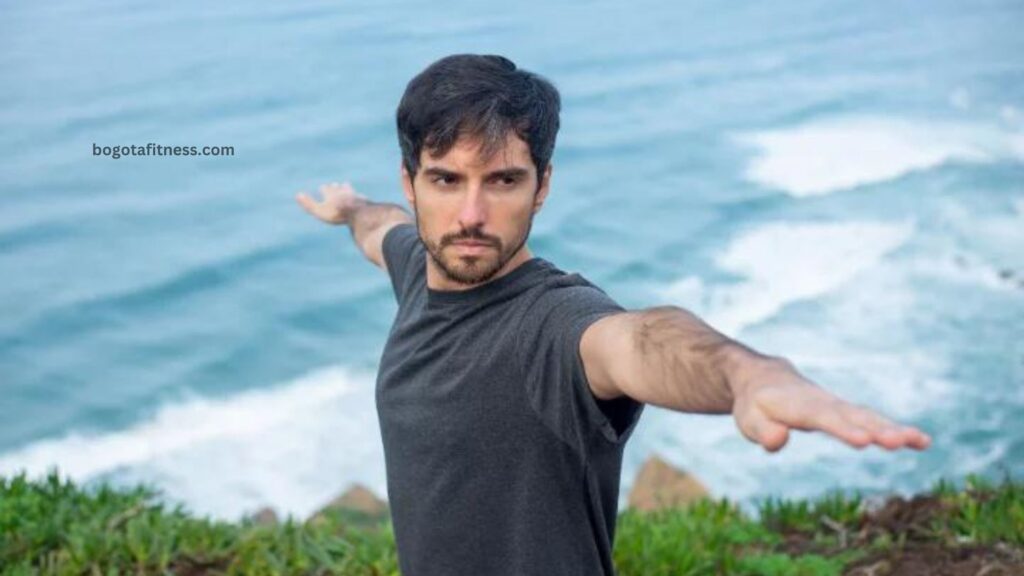
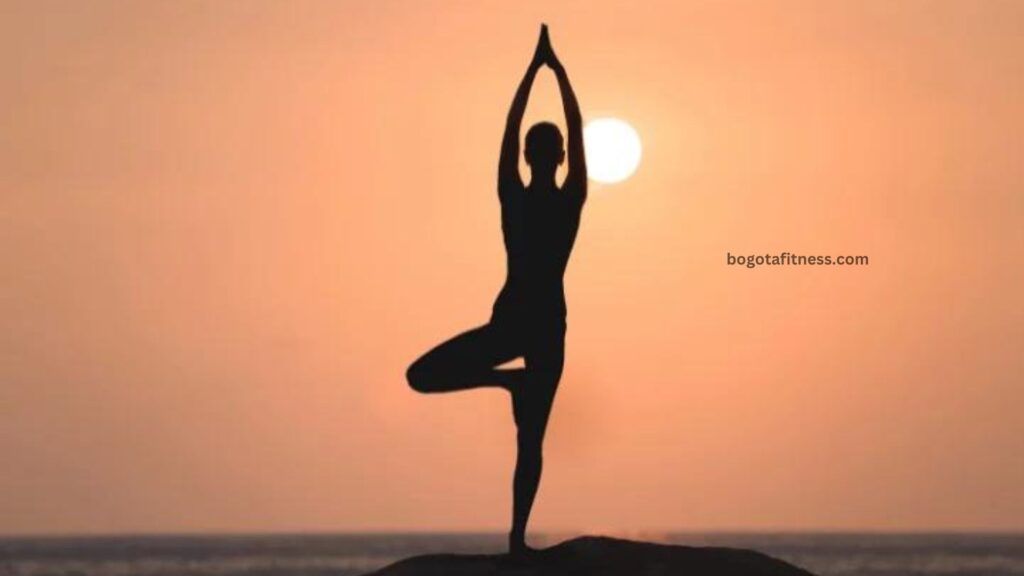
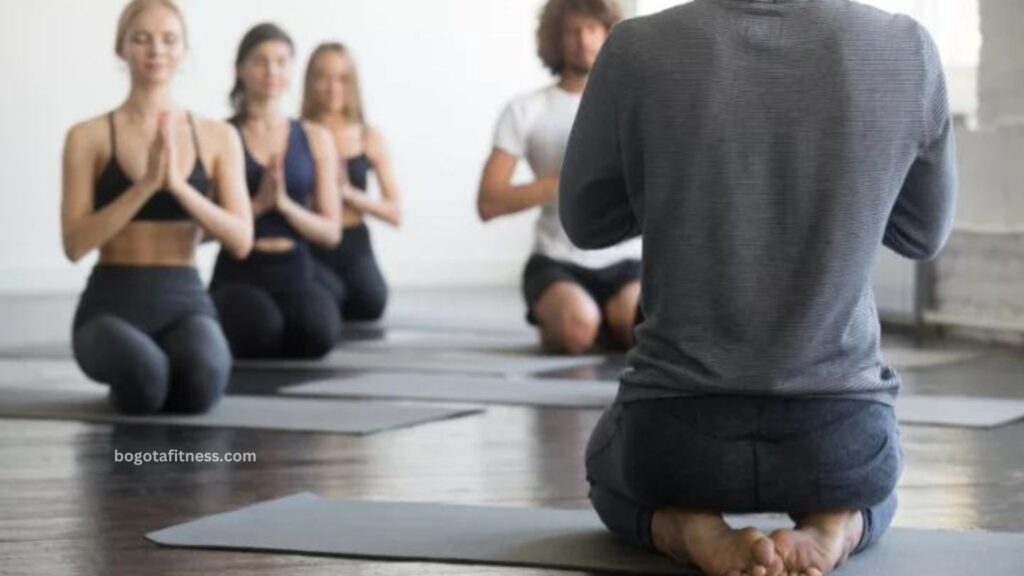
The universality of yoga makes it a beautiful practice. Furthermore, “every” body is a yoga body! Regular yoga practice tones the body and soothes the mind, regardless of age, flexibility, or fitness level.
Unlike what many people think, practicing yoga does not require or end with physical flexibility. It’s also not the objective to strike the ideal stance. Your physical and mental state at the conclusion of a practice is what counts. You are practicing yoga if you are at ease and aware of the present moment.
Let’s explore to find out more!
Basic Yoga Poses (Asanas)
When beginning a yoga practice, it is crucial to keep in mind that mastering a posture or learning everything at once is not a rush. Stretching your body and mind while in that area is what yoga is all about. These are some excellent introductory yoga poses. Mountain Pose

- With a tiny gap between your heels and your big toes touching, take a standing position at the top of the mat.
- Flex your toes to begin the position and shift your weight into each of your four foot corners. Ensure that your weight is evenly distributed.
- Lift your kneecaps and contract your thigh muscles. Adjust your pelvis.
- When you breathe in, raise your shoulders to your ears; when you exhale, lower them down your back. This enhances posture and straightens your spine.
- With your hands lightly engaged and your fingers pointing toward the floor, hang your arms next to your torso.
- Consider that your head’s crown is being drawn toward the ceiling by a string.
- Stretch out your neck. Lower your chin to the floor and look straight ahead with a gentle expression.
- Breathe continuously while holding this position.
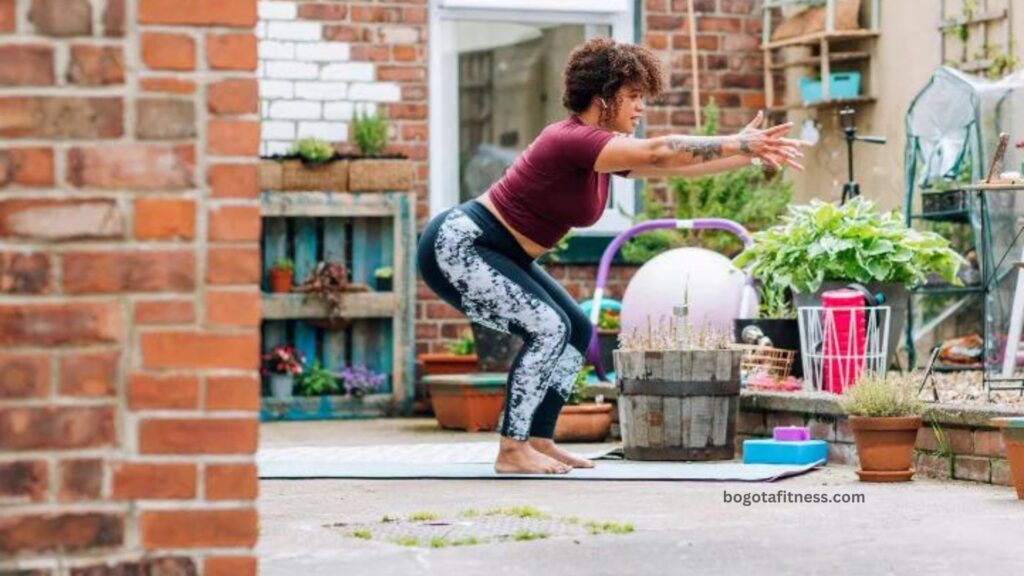
- On the yoga mat, take a straight stance with your feet together or hip-width apart and parallel to one another.
- With your palms facing down, extend your arms straight out in front of you, or bring your hands together above your head.
- As if you were sitting in a chair, sink your pelvis toward the floor and flex your knees fully.
- Assume that your whole weight is on your heels and that your knees are in line with your ankles and toes.
- Try your hardest to keep the posture while still feeling as comfortable as you can. It’s natural to feel a burning sensation in your quadriceps.
- Take a deep breath to stretch your spine, and with each exhale, lower your tailbone even further.
- Maintain the position for half to one minute.
- Either stand up straight or completely sit on the mat to release the pose.
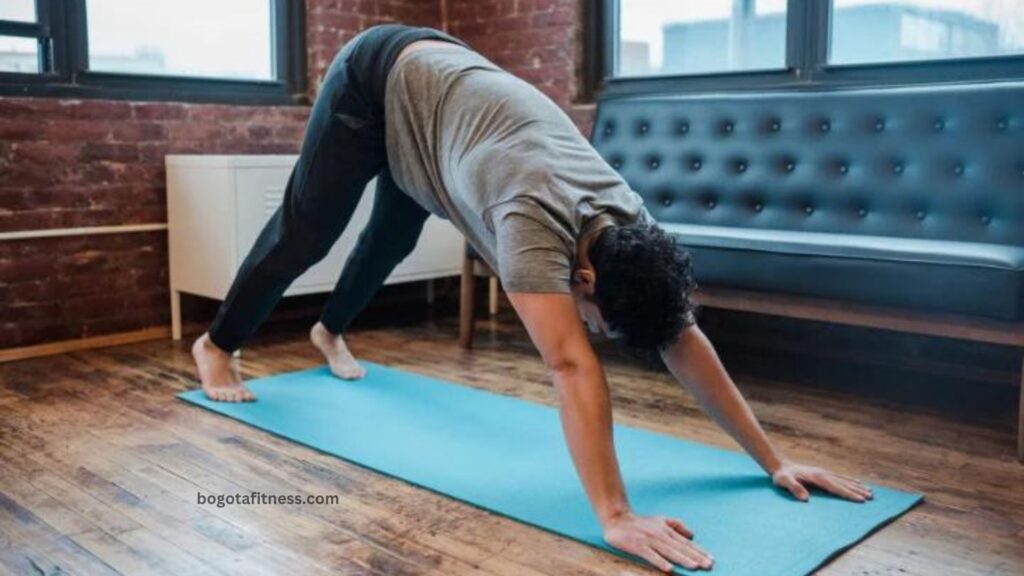
- Place yourself properly aligned on your hands and knees in tabletop position. With your knees exactly beneath your hips, place your hands shoulder-width apart.
- As you release your breath, raise your hips to form an inverted V stance, keeping each leg as straight as it is comfortable for you to stand.
- Draw your shoulder blades forward, plant your hands firmly on the mat, and align your feet so they are hip-distance apart and parallel. Inhale deeply.
- Head back and look down at your navel. Each heel on a straight leg should be as near to flat as possible on the yoga mat.
- It is crucial that the spine lengthens first, so if it is rounded in any way, bend your knees to straighten it out.
- Breathe deeply and fully while maintaining the pose.
- Release both your feet and your knees as you release the downward dog position. Go back to a resting position on the yoga mat, such as child’s pose or tabletop position.
- With your feet hip-distance apart and your arms by your sides, adopt a straight mountain pose. As you take steady, deep breaths, focus your thoughts on the here and now.
- At least three to four feet should separate your legs wide apart.
- Keep your feet straight with your toes pointing forward, or turn your right foot out at a 90-degree angle and your left foot in at a 15-degree angle.
- Orient your right foot’s heel to the left foot’s center.
- Rotate your torso to the right.
- Inhale deeply and raise your arms, keeping your palms facing one another and your hands shoulder-distance apart. Maintain a forward-looking gaze. You might look up at your thumbs while bringing your palms together.
- Feel the stretch in your hips and thighs as you exhale and raise your arms to bend your right knee and bring your right thigh parallel to the floor.
- Maintain a space between your right knee and right ankle. Ascertain that the knee does not pass the ankle. Avoid bending at the left knee and maintain your rear leg straight and foot planted.
- For five to ten breaths, hold the posture.
- As you inhale, extend your right knee. Exhale, then lower your arms.
- On the other side, repeat the posture.
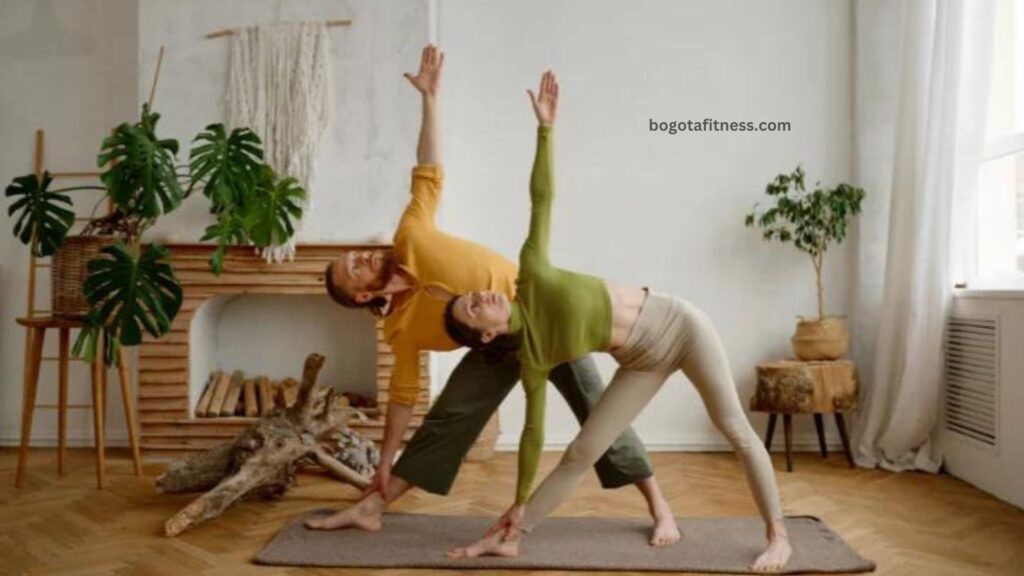
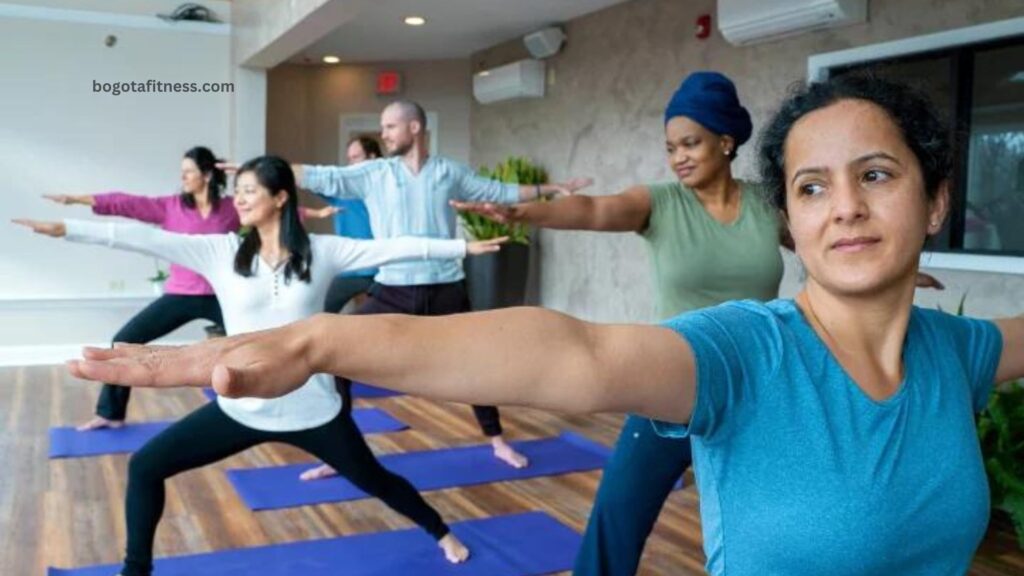
- Begin by facing the long edge of your yoga mat while standing in mountain pose. Place your feet three to four feet apart.
- You can alternately position your left foot looking forward and your right foot 90 degrees out and 15 degrees in.
- Orient your left foot’s arch and the center of your right heel in the same direction.
- Maintain a balanced weight distribution over both feet.
- As you inhale, raise your arms to shoulder height and stretch them parallel to the ground.
- Exhale and stretch your upper body to the right. Inhale, then as you release the breath, bend your body to the right and lower it down by folding at your right hip. Face forward with your head, chest, and pelvis. Raise your right arm straight up toward the ceiling and raise your left arm straight up into the air. Maintain a left shoulder that is higher than a right shoulder.
- Place your right hand on the yoga mat or your right leg’s shin, ankle, or knee in a comfortable position. Extend your left arm in a direction parallel to your shoulders, up toward the ceiling. Maintain a neutral head posture or tilt it to the left, softly focusing your eyes on the left palm.
- Verify that you are bending sideways rather than forward or backward. If needed, tilt your pelvis backward to prevent it from moving forward on your extended side. Let the sky in through your upper torso.
- Keep your eyes focused and hold the triangle stance for five to ten breaths.
- As you take a breath, raise yourself up and lower your arms to your sides.
- Extend your right arm upward and your left hand downward as you repeat the triangle stance on the other side.
Also Read: HIIT WORKOUT EXPLAINED: BENEFITS AND BEGINNER ROUTINE
- In the mountain position, take a lofty stance and rest your arms by your sides.
- With your right foot up on your left thigh, bend your right knee. Place the sole of your right foot firmly against your inner thigh on the left side (not your knee).
- Verify that your left leg is straight when you stand. regain equilibrium.
- As soon as you’re steady, inhale deeply and raise your palms to your chest in the Namaste prayer position.
- Focus your attention lightly on anything that is stationary directly in front of you.
- Hold your back straight and keep taking deep breaths. For five to ten breaths, hold the posture.
- Slowly release the air and bring your hands down to your sides.
- Return to mountain stance after lowering your right foot gently.
- Continue on the opposite side.
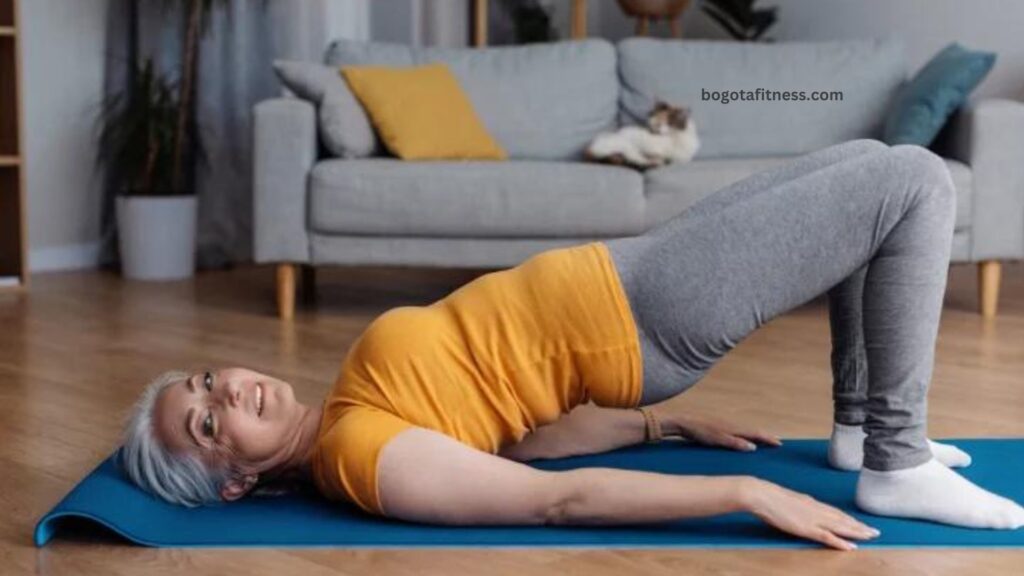
- Start by lying on your back.
- Your feet should be flat on the floor, parallel to your sitting bones, and about a foot distant from your hips when you bend your knees to achieve this.
- With your palms facing down, place your arms by your sides.
- Lift your hips toward the sky and start rolling your spine upward as you inhale. With your feet, ankles, and thighs rooted in the earth, support your body’s weight.
- Maintain a lift through your hips by contracting your buttocks, and avoid collapsing or splaying your legs outward.
- As you strengthen your body in this pose, keep your breathing easy.
- After one to two minutes of holding the pose, release it with a breath out.
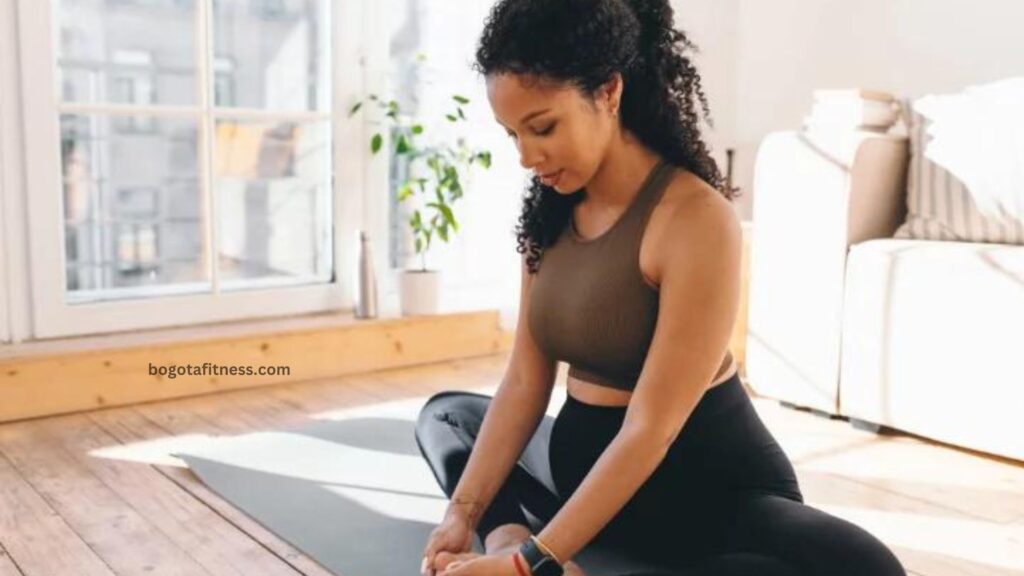
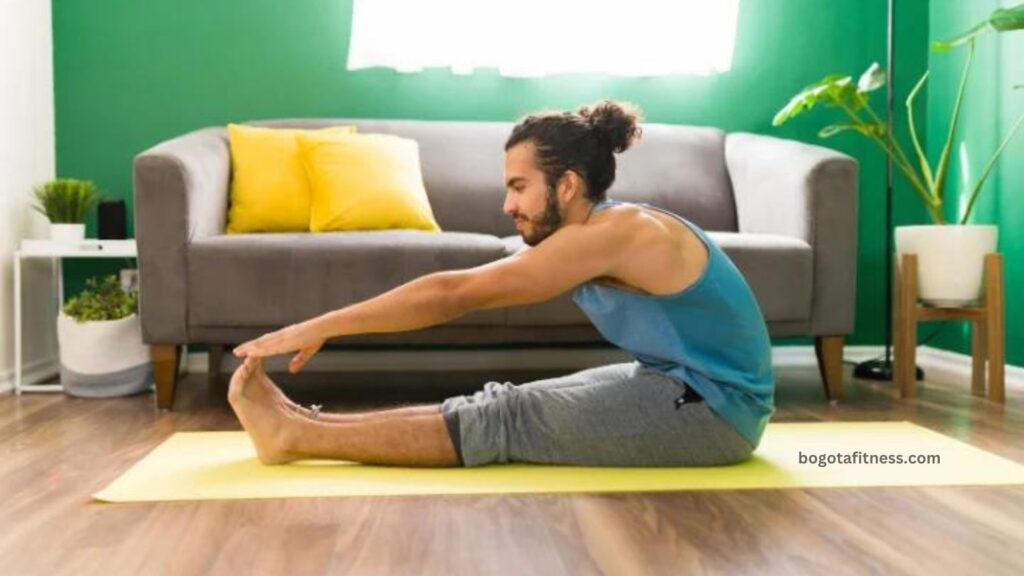
- With your legs extended straight front and your spine straight, begin in a sitting position.
- Bring your feet up to your pelvis while bending your knees.
- Your foot soles should come into contact with one another.
- Tightly grasp your feet with your hands (you can support yourself by placing your hands underneath your feet).
- Try, without straining, to bring your heels as close to your groin as you can.
- Inhale deeply, then exhale as you fold forward, pressing your thighs and knees toward the floor.
- Maintain a slight downward pressure on your thighs.
- Begin to raise and lower both of your legs in a butterfly-like motion.
- Breathe normally while increasing the speed gradually from a slow starting point.
- Breathe deeply and slowly. As you release the breath, lean forward while maintaining a straight back and chin up.
- To bring your knees and thighs closer to the floor, place your elbows on your thighs or knees.
- As you take deep, prolonged breaths and gradually relax the muscles, feel the stretch in your inner thighs.
- Draw in a deep breath and raise your body.
- Release the pose slowly as you breath.
- Stretch your legs out in front of you straight and relax.
- Take a cross-legged, lotus, or half-lotus position.
- Your hands should be behind your back.
- The thumb should span the middle of the palm, the tip of the thumb should rest at the base of the pinky finger, and all four fingers should bend to form a fist that covers the thumb while the right hand is in the Adi mudra position.
- Hold the right wrist lightly in your left hand.
- Place both hands on your lower back.
- As much as you can, bend forward and place your forehead on the ground, a cushion, or a block, if that’s comfortable for you.
- The muscles in your lower back should feel stretched.
- Inhale deeply and gradually release each vertebral column, starting with the head and neck. After your spine has straightened again, release the hands.

- Bend forward and bring your forehead to the floor while sitting on your heels.
- With your hands on the ground and your palms facing up, keep your arms by your sides. If this is uncomfortable, you can rest your forehead on your fists stacked on top of each other.
- Continue breathing.
- As you slowly elevate your abdomen to sit on your heels, uncurl your spine vertebrae by vertebrae.
Adamantine Pose (Vajrasana or diamond pose)
- Fold your left leg beneath you and your right leg beneath you while sitting on your yoga mat.
- With your big toes touching and your toes pointed behind you, gently place your hips down onto your heels.
- With your heels apart to create a pit, sit with your back straight and your buttocks resting in it.
- Maintain your chin in line with the ground.
- Put your palms faceup on your thighs while keeping your arms relaxed.
- For breathing exercises like bellows breath, this stance is perfect.
- One by one, slowly straighten your legs to release the posture.
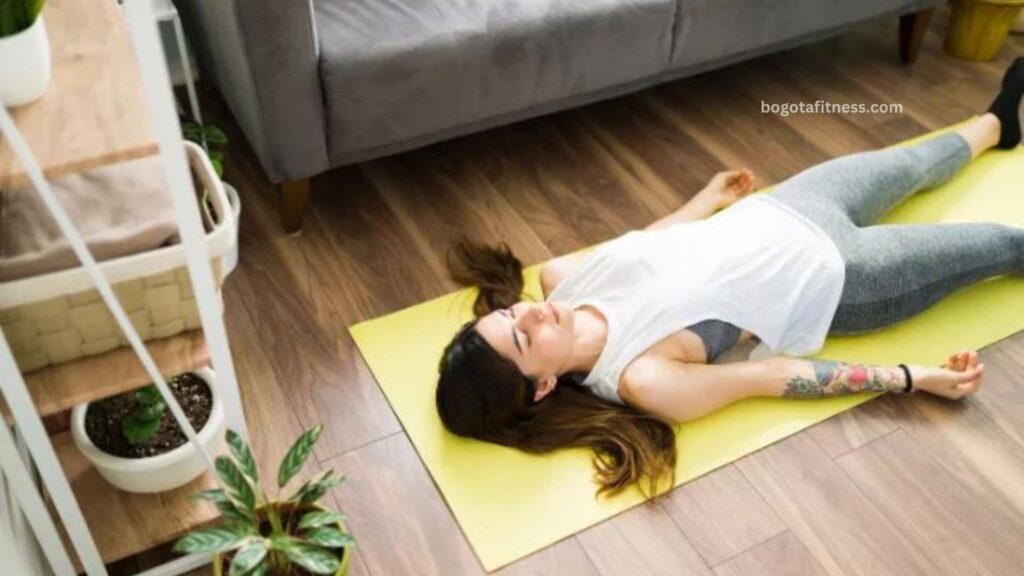
- With your legs straight, lie flat on your back on top of the mat. If necessary, use a folded blanket or a tiny pillow beneath your knees or neck to ensure your entire body is at ease and calm.
- Allow your feet, knees, and toes to fully relax while maintaining a comfortable hip-width distance between your legs (your feet may rotate slightly outward). Shut your eyes.
- With your hands facing up, place your arms next to your torso. Your hands and fingers should be at ease. Tuck your shoulder blades gently down onto your mat, opening your chest gently.
- Just be in your body, in your breath. Breathe deeply and slowly for a few moments, noticing the rise and fall in your chest and abdomen. Take a few such breaths and then start breathing normally. Unwind and experience a sensation of your entire body vanishing into the ground beneath you. Give yourself up totally and let go. Give yourself a few minutes to remain motionless.
- Scan your complete body with little effort, focusing on each body component individually. Your feet, calves, knees, thighs, pelvis, hips, abdomen, chest, shoulders, left and right arms and hands, neck, face, tongue, head, and scalp should all be gradually released from tension.
- Feel yourself falling more and more into a state of deep relaxation while you examine your body. Your thoughts could wander at first, but they will eventually calm down.
- For at least five to ten minutes, stay still.
- With your eyes closed, start to release the corpse stance by slowly wriggling your fingers and toes.
- Roll slowly to your right side and take a few minutes to relax there.
- With your right hand supporting you, slowly raise yourself into a sitting position.
- Shut your eyes and inhale and exhale deeply as you slowly become conscious of your surroundings and physical self. Open your eyes softly and gently when you feel ready. Now is a fantastic time to meditate and do pranayama.
Intermediate Poses
Depending on your health, these poses are also excellent for starting yoga when you are ready to tackle more difficult ones. Just be sure to breathe and don’t strain!
Upward-Facing Dog
Bow Pose
Camel Pose
Eagle Pose
Lotus Pose
Reverse Prayer Pose
Advanced Yoga Poses
Here are some asanas that will help you reach the next level of your yoga journey when you’re ready to move forward. As usual, take note of your body’s abilities and remember to breathe!
Boat Pose
Fish Pose
Upward Plank Pose
Wheel Pose
Shoulder Stand
Explore our collection of 50 Yoga Postures for Health, Flexibility, and Inner Strength for additional postures suitable for all skill levels.
Yoga poses for beginners: Benefits and tips

Benefits
The advantages of yoga practice go beyond physical fitness, in contrast to stretching. There is a mind-body connection to yoga practice. When we perform yoga asanas, we establish a connection between our mental and physical states as well as the rhythm of our breath.
Bringing the body, mind, and breath together facilitates internal focus. Consequently, this enhances our awareness and helps us stay in the present.
A consistent yoga practice has many advantages; the following is a list of some of them.
- Reduced stress and anxiety
- Weight loss
- Improved immunity
- Increased energy
- Better posture
- Chronic pain relief
- Improved sleep
- Increased flexibility
- Improved heart health
- Better relationships
- Greater awareness
- Mental well-being
- More inner peace
Tips
- If you are worried about your health, consult your physician.
- To assist you in getting started, locate a skilled teacher.
- Grab a yoga partner.
- Don’t compare yourself to others; instead, learn to accept who you are.
- Yoga should always be done on an empty stomach.
- Warm-up gently at first.
- Never force a pose, and pay attention to your body at all times.
- Continue breathing, synchronizing it with your motions.
- Enter the stance, hold it for a while, then let go.
- Add additional postures to your program one at a time.
- Include breathing exercises in your yoga practice both before and after.
- Complete with a meditation or Yoga Nidra.
How to practice yoga safely as a beginner
Yoga in the modern era is digital. Yoga applications and videos on YouTube abound. However, taking classes, retreats, or studio sessions with a professional yoga teacher is the greatest method to learn yoga.
Common mistakes to avoid when practicing yoga
Among the most frequent errors made by novice yoga practitioners is to strain or extend too much in any particular pose. The second most common error is not remembering to breathe, which is actually the most crucial thing to keep in mind! Your breath will assist you in the stretch and help you avoid injury if you continue breathing while overreaching.
Yoga equipment for beginners: What you need
Essential:
- Yoga Mat, Blanket, or Towel
- Comfortable Clothing
- Optional (to advance your practice):
- Yoga block
- Resistance bands
- Yoga straps
- Yoga wheel
- Yoga bolsters
Yoga poses for kids: Benefits and tips
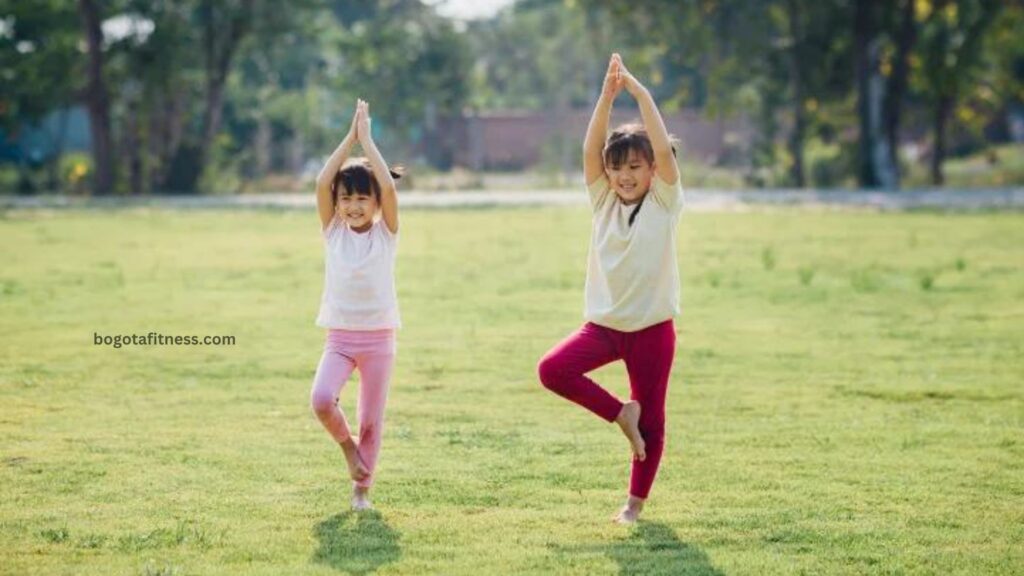
Youngsters are innate yogis! Young children naturally perform various yoga poses, such as downward-facing dog, bridge pose, cobra, child’s pose, and more, if you watch them for any amount of time.
Children hold their hands in mudras, or yoga hand poses, even as newborns. Thumbs tucked into a soft fist, or adi mudra, promotes healthy brain development. When toddlers suck their thumbs, the merudanda (soft fist with thumbs pointing up) is used, sending energy to the spine for stability and growth.
Kids can do any of the fundamental positions mentioned above.
Benefits
- More confidence
- Reduced stress and negative emotions
- Better concentration
- Improved interpersonal relationships
Tips
- Engage younger kids in “animal” yoga poses. Call out animal names in a playful manner for them to pose in. These are an excellent start to yoga-related movement, however they probably won’t look like the animal-named postures you execute.
- Before heading to school, get your teen involved in a fun competition of sun salutations (you might need to offer them an incentive to get them started).
- Don’t force your kids to do yoga. Allow them to come by invitation only.
- Enroll your adolescent in the online SKY Kids & Teens program, which incorporates yoga poses, breathing exercises, meditation, and skill development.
